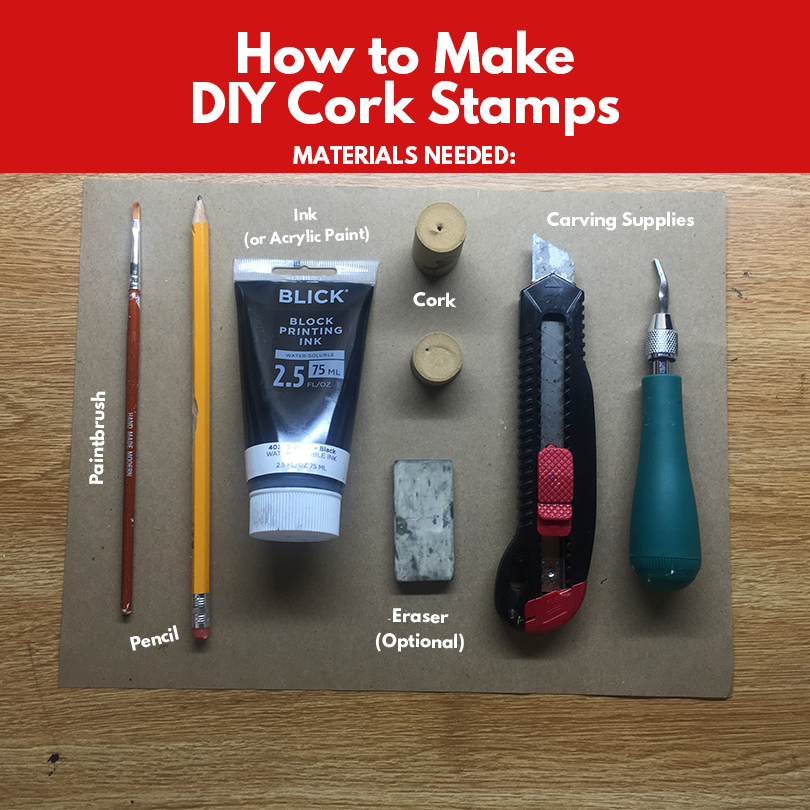
If you are a crafts-lover like me, and looking to add a fun and inexpensive new DIY to your next crafting session, look no further! In this tutorial I will be teaching you how to make your own stamps out of recycled cork from wine bottles. Let’s get to it!
MATERIALS NEEDED:
– Cork (from a wine bottle, the one I am using is from Barefoot)
– X-ACTO Knife or Box Cutter
– Pencil
– Piece of Paper
– Ink or Acrylic Paint
(Note: An advanced version will sub out the cork for an eraser)
STEP 1: TRACING
Take the cork you plan to carve and trace its outline on a sheet of paper. This allows for more precision when transferring your design on the cork itself. 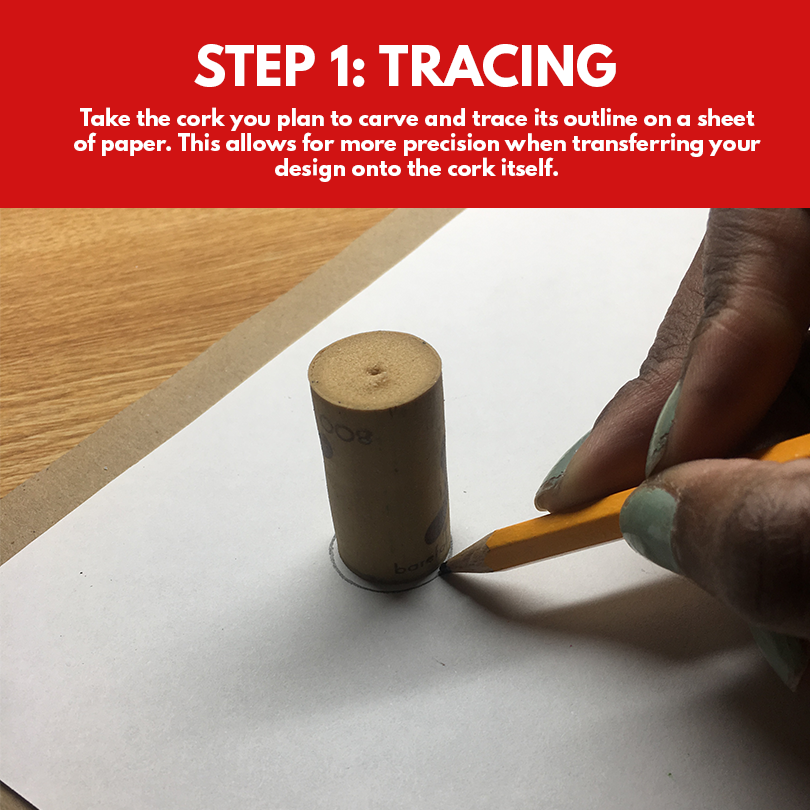
STEP 2: CREATE A DESIGN
Design your stamp! Be sure to draw within the lines to make sure your design successfully transfers to the cork. Use clean lines to ensure the ease of tracing later!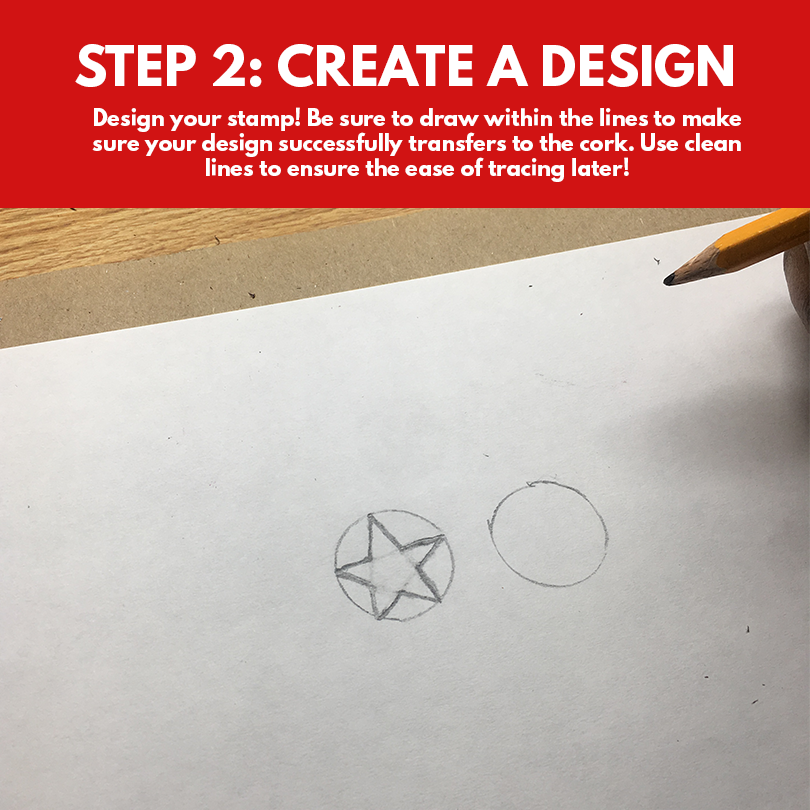
STEP 3: CUT OUT YOUR DESIGN
Using the X-ACTO knife or box cutter, cut out the design you created. 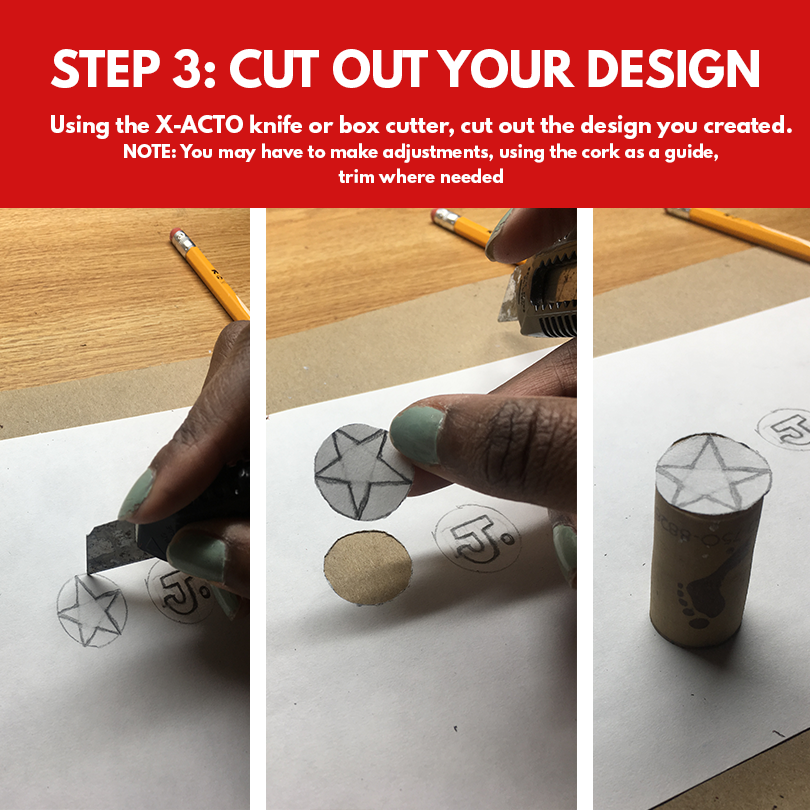
NOTE: You may have to make adjustments, using the cork as a guide, trim where needed
STEP 4: TRANSFERRING THE DESIGN
Place your design cut-out on top of the soft side of the cork and trace! NOTE: If your design contains text, be sure to transfer the design backwards, so that your final stamp will be legible from left to right.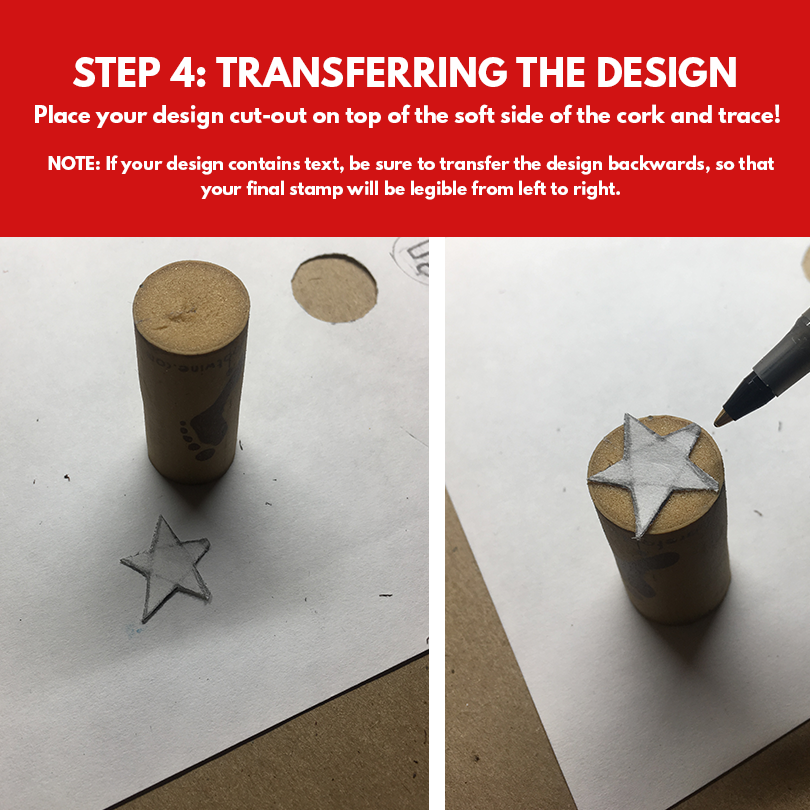
STEP 5: ETCHING YOUR STAMP
Using the X-ACTO knife, cut the design you have traced into the cork. Be sure to get a deep slice for clean lines.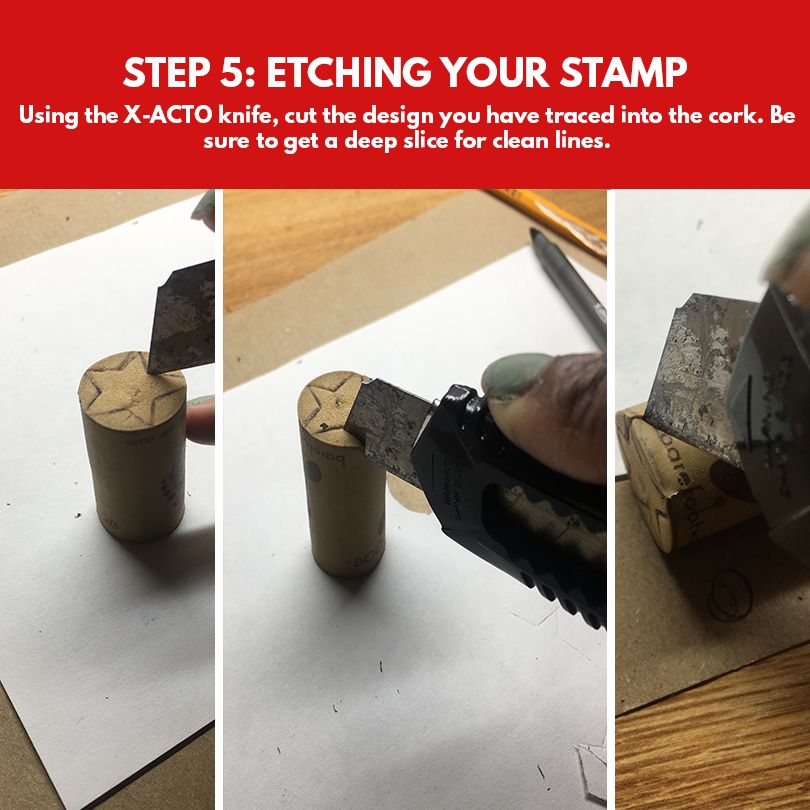
STEP 6: USE YOUR DIY STAMP!
You did it! Now you can use your stamp. Using the paintbrush, layer the ink over the surface of the stamp. NOTE: Be sure to use the ink liberally for a clean print. 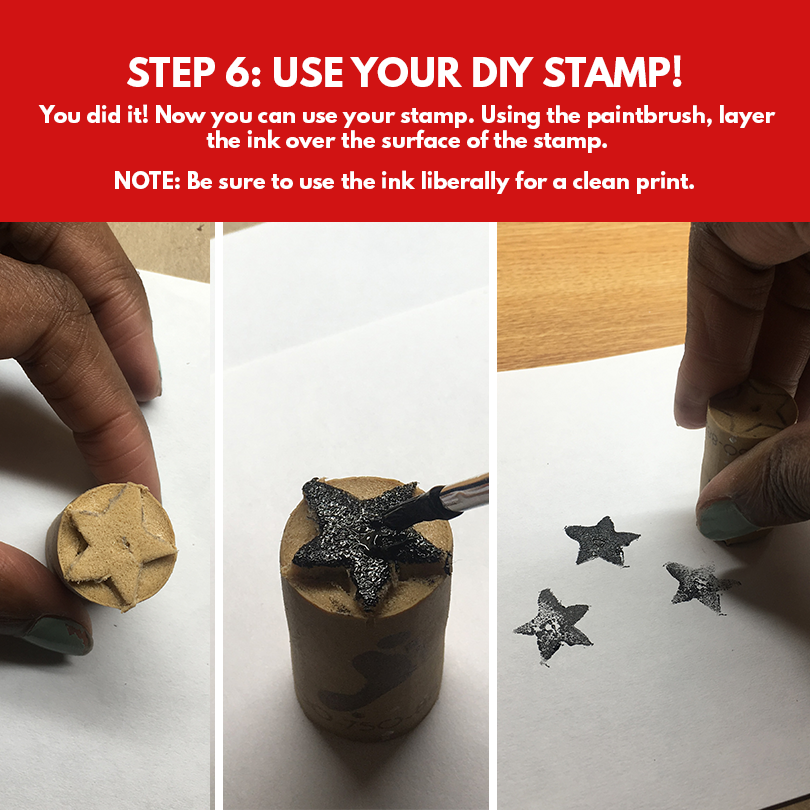
For more fun stamp ideas, try etching into an eraser!
Happy stamping!
Tutorial by Jo
Instagram: @jvhxnnxh
