Pantastic Lasagna

By Megan Smith, Sargent Choice Ambassador

Every Wednesday Karen Jacobs EdD, OTR/L, CPE, FAOTA hosts the Sargent Choice Test Kitchen in StuVi 2 Apt. 2302 from 8-11pm. She kindly welcomes the BU community to make and test new Sargent Choice recipes while we eat, talk and play games like Apples to Apples or Bananagrams.

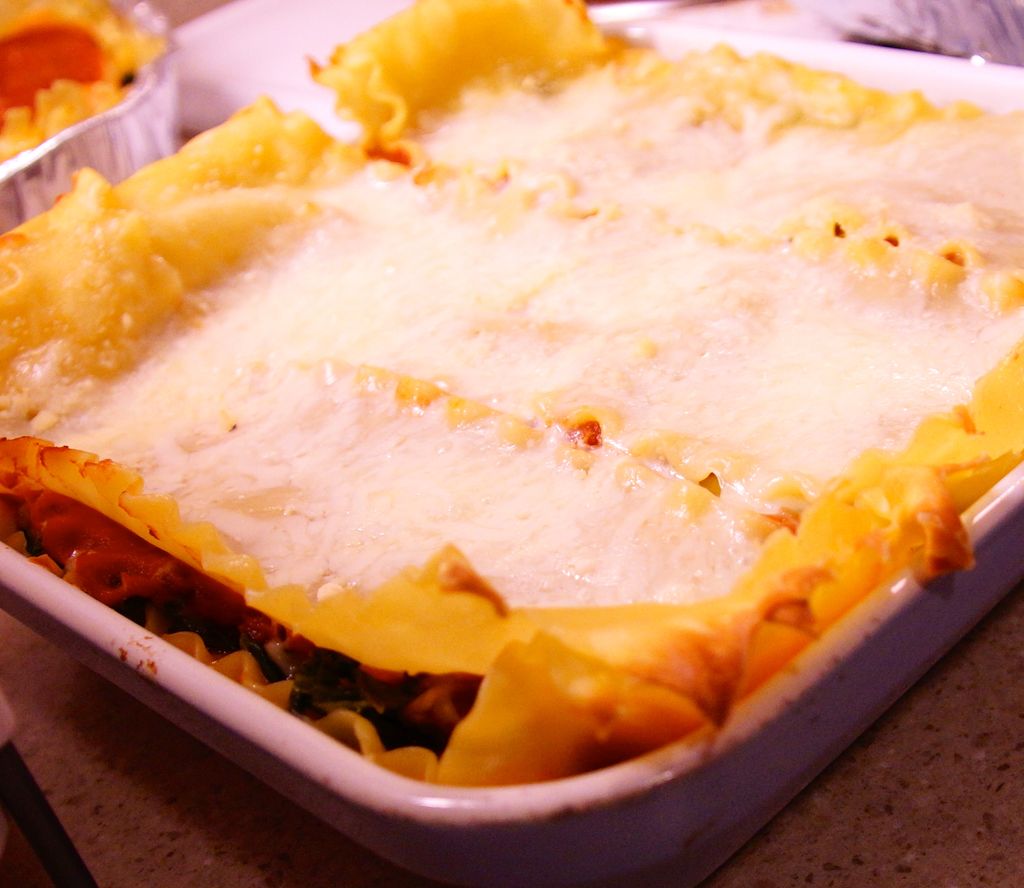
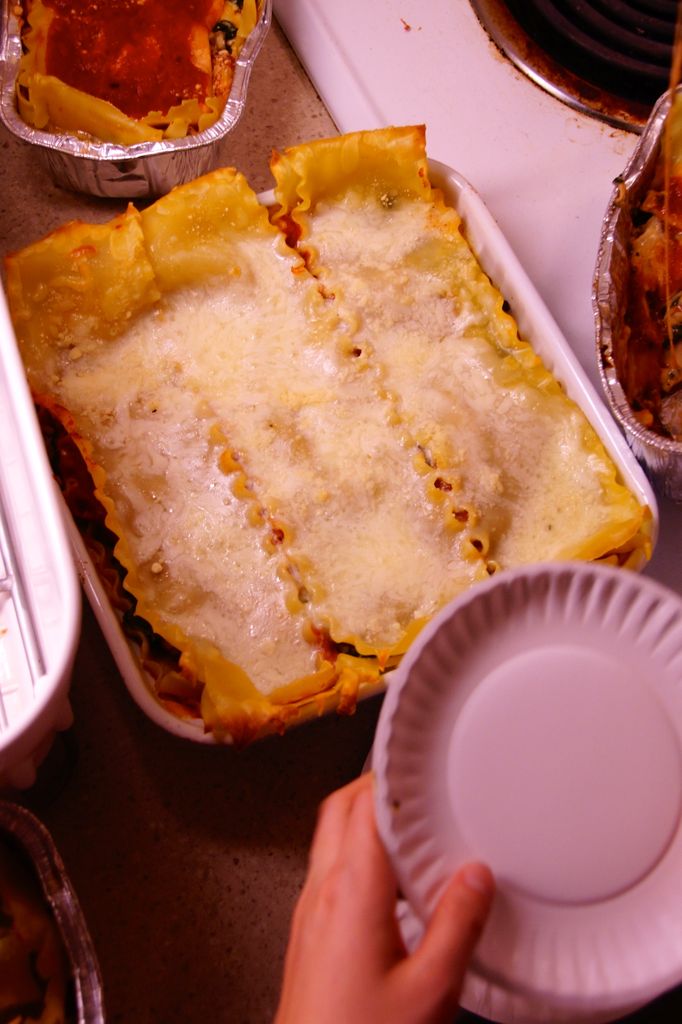
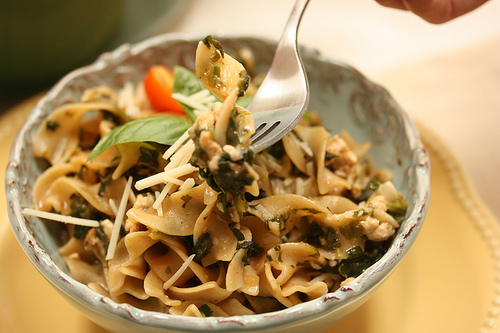
Pantastic (fantastic) Loaf Pan Lasagna was our recipe a few weeks back. Although different from what one may think of as “typical” or “regular” lasagna, this dish was definitely a crowd pleaser. Students loved the lasagna and also appreciated that it was more unique and flavorful than typical meat and cheese lasagna. Another wonderful recipe from Meal Makeover Moms, this lasagna could easily become a Sargent Choice Test Kitchen all-time favorite!

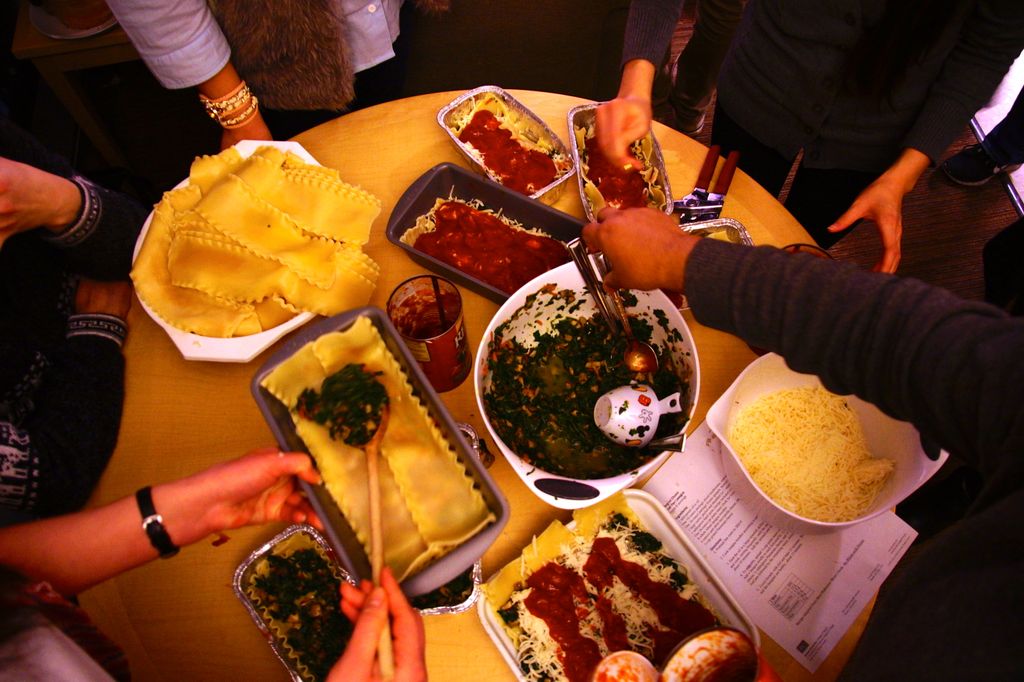
Everyone had fun preparing this dish since there was something for everyone to do, from chopping and sautéing to taking turns layering the lasagna noodles in the pan with cheese and sauce.

This may be something you want to get ingredients for before  another snowstorm hits. Nothing like healthy comfort food (that you can feel good about eating, too!) to help warm your cold days and give you something to do.

Invite friends over this weekend for lasagna night – or make it alone so you get to keep the leftovers!
And don’t forget to come check out the test kitchen; even bring a friend along!

Loaf Pan Lasagna
Recipe from Meal Makeover Mom’s cookbook, No Whine with Dinner

Yields 6 Servings

Ingredients
–       1 Tablespoon Olive oil
–       One 10-oz package sliced mushrooms, coarsely chopped
–       One 10-oz package frozen spinach, thawed and squeezed dry
–       1 large carrot, peeled and shredded (or 2 medium carrots)
–       1 Tablespoon basil pesto (can make or purchase pre-made)
–       One 26-oz jar pasta sauce (look for lower sodium choices)
–       8 whole wheat lasagna noodles
–       6-oz part-skim mozzarella cheese shredded (about 1½cups)
–       ¼ cup grated parmesan cheese

Directions

1)   Preheat the oven to 350°F.

2)   Cook Lasagna noodles according to package directions – do not overcook!

3)   Heat the oil in a large nonstick skillet over medium-high heat. Add the mushrooms and carrot and cook, stirring frequently, until the mushrooms give off liquid and the vegetables are tender, about 10 minutes. Add the spinach and stir to combine. Stir in the pesto until well combined.

4)   To assemble, spread ¼ cup pasta sauce on the bottom of each of two 8½ x 5-in loaf pans. Add lasagna noodle to each followed by ½ cup vegetable mixture, a scant ¼ cup mozzarella cheese, ½ Tablespoon Parmesan cheese, and ¼ cup pasta sauce. Top with more noodles in each loaf pan followed by the remaining sauce, mozzarella cheese, and Parmesan cheese.

5)   Cover loosely with foil and bake 35 minutes. Remove the foil and bake until the cheese melts and the lasagnas are bubbly, about 15 minutes.

Nutrition information
1 Slice

Calories 365
Fat 14 g
Saturated Fat 4.5 g
Protein 20 g
Carbohydrates 38 g
Fiber 6 g


Vitamin Supplement Advice from an Expert

By Kelli Swensen, Dietetics Student, Sargent College

Image Source

Flintstones Vitamins were all the rage growing up. While I didn’t understand why I had to take them, I figured vitamins must be very important if my mom was giving them to me. Flash forward to 2013, and nearly every day there seems to be a new “it” vitamin. With the constant bombardment of vitamin recommendations, it can be hard to know which ones you should take, or if you even need to take them at all. In an interview with BU Today, supplement expert and Sargent Choice Nutrition Center Director Stacey Zawacki, DrPH, RD, LD, addresses the common question: what supplements should I be taking? Her basic answer to this question is, “Everyone is unique,” but she also adds that you can get more vitamins and minerals in your diet by eating whole foods -- you don’t necessarily need to take a pill to get adequate nutrition. Read Stacey’s whole interview on vitamin supplements on BU Today by clicking HERE, and for more personalized advice, be sure to set up an appointment with a dietitian at the Sargent Choice Nutrition Center.

Photo by Kalman Zabarsky, from BU Today


Magical Beans

By Sara Munson, Boston University Dietetic Intern

"This is my invariable advice to people: Learn how to cook - try new recipes, learn from your mistakes, be fearless, and above all have fun!"
― Julia ChildMy Life in France

For many people, the main thing holding them back from cooking at home is the fear of learning how. Here at the Sargent Choice Nutrition Center we want to help you get over this fear by equipping you with some cooking basics. Once you've mastered these, you'll be amazed at how non-threatening most recipes will become - you may even find a passion for cooking! In this post, I'd like to take the opportunity to teach you how to master the process of preparing dried beans.

Whether they are in a delicious dish of red beans and rice, baked to perfection in a classic bean pot, or simply topping off a salad in the dining hall, beans are a tasty addition to any meal. I recently had the chance to present on the wonders of beans and the easy ways to prepare them in Sarah Butler’s Vegetarian Nutrition & Cooking class.

Why buy dried beans?

Beans, whether canned or dried, are a great source of protein, fiber, and other nutrients.  If you are a vegan or vegetarian, beans should play a major role in your diet to ensure that you are getting the nutrients your body needs.  Learning how to soak and cook dried beans will save you money and be healthier in the long run.

  • One 19 oz can of beans contains just 2 cups of beans.  For about the same price, you can buy 7.5 cups (once cooked of dried beans.
  • Canned beans can cost around $0.70 per cup while dried beans cost about $0.20 per cup. Buying dried beans can save you $0.50 per cup and if you are eating beans regularly, these savings add up! (Dried beans can also be found in bulk, however these may be more expensive than bags of beans since bulk items are often organic.)
  • A serving of canned beans can have around 340 mg of sodium while dried beans only contain 20 mg of sodium per serving.  (For info on sodium and health visit: http://www.cdc.gov/salt/)

How to Prepare Dried Beans

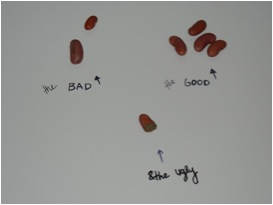
Preparing dried beans involves just a few easy steps.  Beans can be purchased in your local grocery store or even at some farmer’s markets.  When choosing your beans, look for smooth, firm, brightly colored beans.  Wrinkled, broken beans should be avoided.

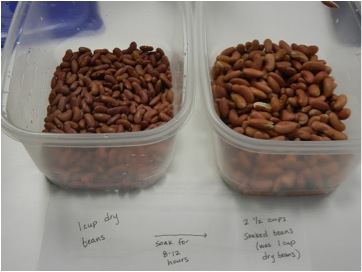
Dried beans will expand to about 2.5 times their size so measure accordingly.

  1. To begin, pour out the amount of beans you will be using onto a flat plate or surface. You will want to take a second to look through the beans and sort out any shriveled beans or small stones that may have gotten mixed in.
  2. Next, put the beans into a container (keeping in mind as they soak, they will expand).  Add water to the container, about 3 times the amount of beans.  Cover the container and leave to soak for 8-12 hours.  Do not add any salt to the beans at this point; it will prevent the beans from fully expanding.
  3. After several hours, the beans should be expanded.  Strain and rinse the beans until the water runs clear.  Rinsing the beans will help to prevent unwanted gas that may be a side effect of eating beans! (Here’s a great explanation on why beans cause flatulence)
  4. Once rinsed, place the beans in a large pot and cover with water.  Remove any beans that remain floating.  Bring the pot to a boil and then reduce to a simmer.  Cook time will depend on the type of bean you are using but should be between 1-2 hours.
  5. When a bean can be easily crushed between your tongue and the roof of your mouth, they are done! Discard the cooking water to further remove gas causing agents.

    Cooked beans can be used for multiple dishes including salads, pasta dishes, soups, and burritos!

    Storing Beans

    Once cooked, beans should either be refrigerated or frozen.  Cooked beans should last in the refrigerator for up to 5 days.  Frozen beans should be stored in small servings to make thawing easier.  Once thawed, do not refreeze.

    Bean Variety

    To keep your menus fresh and interesting, try experimenting with different kinds of beans!  There are many varieties beyond kidney beans, black beans, and pinto beans that offer great flavor and nutrients. Be sure to look up cooking times for each variety as they may differ.

    • Lentils are fast and easy (No pre-soaking required with these beans!!).  Lentils make a great ground meat substitute in dishes such as Sloppy Joe’s and Veggie Burgers.
    • Small Reds are popular in the Southern favorite red beans and rice.
    • Cranberry Beans are popular in Italy and make a great warm salad.
    • Maine Yellow Eyes make delicious baked beans!

    If you would like to learn even more about the wonders of beans, check out this site: http://www.usdrybeans.com/

    Inspired to cook with beans? Take a stab at a few of our recipes.
    - Easy Vegan Bean Chili
    - Black Bean Burgers
    - Black Bean Vegetarian Chili
    - Whole Wheat Penne with Roasted Garlic, Tomatoes and White Beans
    - Smoky Corn & Black Bean Pizza
    - Smoky Black Bean & Cheddar Burrito with Baby Spinach

    Better-Than-Store-Bought Granola Bars

    By Megan Smith, Sargent Choice Ambassador


    Every Wednesday Karen Jacobs EdD, OTR/L, CPE, FAOTA hosts the Sargent Choice Test Kitchen in StuVi 2 Apt. 2302 from 8-11pm. She kindly welcomes the BU community to make and test new Sargent Choice recipes while we eat, talk and play games like Apples to Apples or Bananagrams.


    We’ve all experienced days were there simply isn’t time to prepare a snack. Whether it’s hurrying from one activity to the next, or oversleeping and needing to hustle to a morning class, it is easy to skip breakfast or a much-needed snack. Without proper nutrition, the rest of the day can be a struggle to get though.

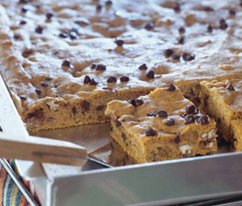
    At the Sargent Choice Nutrition center, we understand that your life is hectic, which is why we want to prove that being busy doesn’t have to cost your body the good nutrition that it needs and deserves. By making sure to have a stock of nutritious food, you can more easily make healthy decisions on-the-go. This week in the Test Kitchen we made Meal Makeover Mom’s “Grab-and-Go Granola Bars,” a perfect breakfast or snack for those on a move (or just a delicious snack in general).

    One of the great things about this recipe is that it’s simple; one batch is enough to keep you stocked throughout the week. Not only are these better for you than store bought granola bars, but they are also fresher and give you total control over what flavors go into them! How cool is that? You get to make custom-made granola bars. Who knows, maybe you can even sell some to your friends. I know I’d buy one.

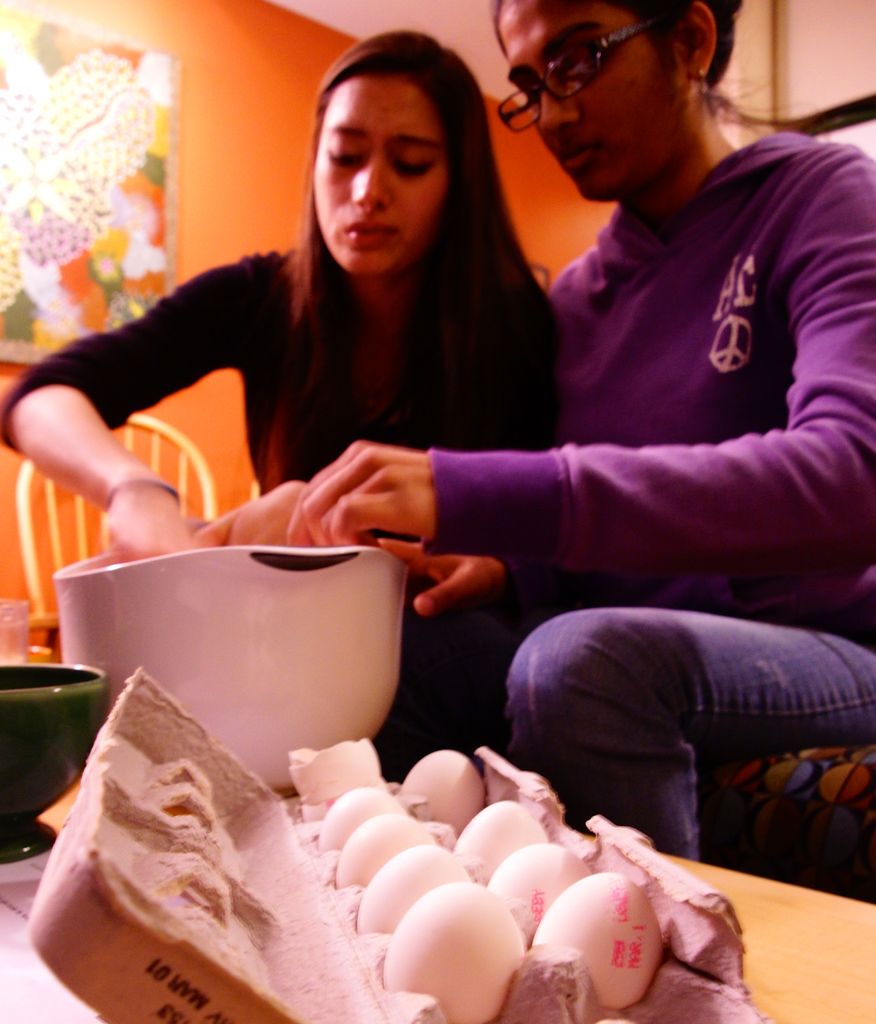
    The students loved these bars and we hope you will too! All you have to do is mix everything together, then throw it in a pan to bake. Super simple and it will only take you a couple minutes. Thanks for another wonderful recipe Meal Makeover Moms!


    Grab and Go Granola Bars
    Recipe from Meal Makeover Mom’s cookbook, No Whine with Dinner


    Yields 12 Servings


    Ingredients
    -       1 cup quick-cooking or old-fashioned rolled oats
    -       1 cup spoon-sized shredded wheat
    -       1 cup Walnuts
    -       1.5 cups dried fruit (choose one or more of the following: raisins, cherries, apricots, cranberries, prunes – or try your own favorite!)
    -       ½ teaspoon ground cinnamon
    -       ½ teaspoon salt
    -       2 large eggs
    -       ¼ cup honey
    -       1 teaspoon vanilla extract
    -       ¼ cup semi-sweet chocolate chips

    Directions

    1)   Preheat oven to 350°F. Lightly oil or coat an 8x8-inch baking pan with cooking spray

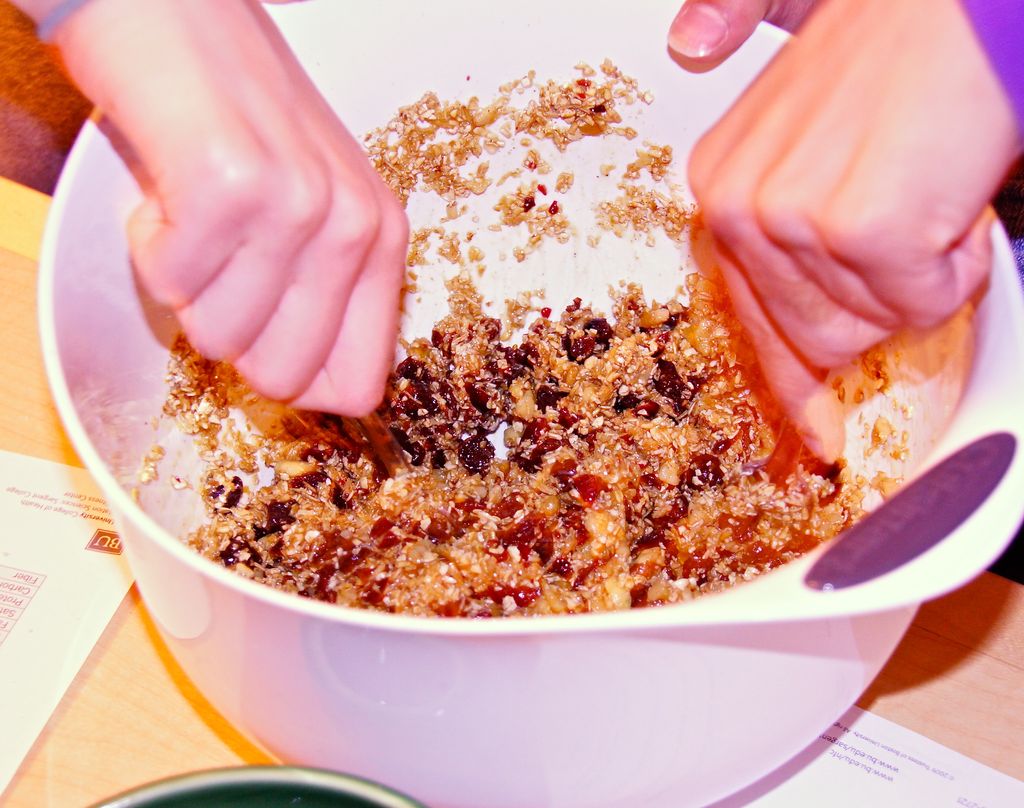
    2)   Place the oats, shredded wheat, walnuts, dried fruit, cinnamon, and salt in the bowl of a food processor and pulse until the mixture is finely chopped (the fruit should be the size of a dried pea or lentil)

    3)   Whisk together the eggs, honey and vanilla in a large bowl until well blended. Add the oat mixture and chocolate chips and stir to combine.

    4)   Spread the mixture evenly in a prepared pan, and flatten gently with the back of a spoon or rubber spatula.

    5)   Bake about 18 minutes, or until the edges turn golden Brown. Let cool completely in the pan before slicing into 12  2x2½-inch bars

    (Ok, confession…. We ate them while still warm…. But for the record, we don’t regret it one bit)


    Nutrition information
    Per 1 bar

    Calories 200
    Fat 9 g
    Saturated Fat 1.5 g
    Protein 4 g
    Carbohydrates 30 g
    Fiber 3 g


    Sargent Choice Chocolate CupCakes

    Here at Sargent Choice we love desserts just as much as the next person. It's our goal to create delicious items that also are healthy for you. Tasting excellent is extremely important, while adding solid nutrition to your meal. Unlike most cupcakes which are made with refined flours, sugars and oil, these are light, sweet and filling thanks to the addition of a secret ingredient.... Dates!!! "Nature's Candy" Dates provide a rich sweetness, while adding fiber to this recipe! Give them a try-we guarantee you won't miss your old cupcake recipe!

    IMG_0881

    Sargent Choice Chocolate CupCakes

    Yields 12 servings

    Ingredients

    1 cup water                                                                White Chocolate Drizzle:

    1 cup pitted dates, chopped                                    2oz white chocolate baking chips

    ¾ cup unsweetened cocoa powder                         2 cups strawberries, halved

    3 oz or ½ cup bittersweet chocolate

    ½ cup + 1 Tbsp brown sugar, packed

    3 eggs

    ¾ tsp vanilla extract

    ¾ tsp baking soda

    6 Tbsp whole white wheat flour

    Directions

    1. Preheat oven to 350 degrees.
    2. Bring water and chopped dates just to a boil in a heavy saucepan, then transfer the mixture to a food processor.
    3. Add cocoa powder and chocolate, pulsing 1-2 times to combine.
    4. Let cool 2 minutes, and then add brown sugar, egg, vanilla, baking soda, and a pinch of salt, then puree until smooth. Add flour and pulse just until incorporated.
    5. Prepare muffin tins with paper liners or spray with cooking spray.
    6. Spoon batter into cups, dividing it evenly, and bake in middle of oven until a wooden pick or skewer comes out clean, 20-23 minutes. Cool cupcakes in pan on a rack 10 minutes, then turn out onto rack and cool completely, right side up.
    7. While the cupcakes are baking, melt white chocolate chips in a microwave safe bowl, for 20seconds at a time, stir until smooth.
    8. Drizzle white chocolate over cooled cupcakes and top with half a strawberry.

    IMG_8701

    1 cupcake has 200 calories 3g of fiber and 6 g of unsaturated fat.  Enjoy this deliciously healthy treat!

    What is your favorite type of cupcake or dessert?

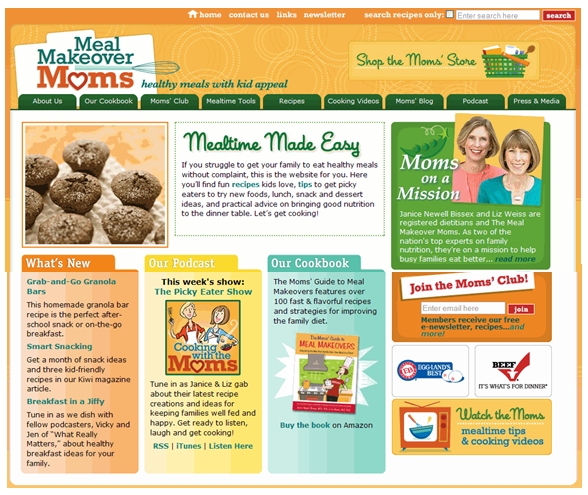
    Meal Makeover Moms: Making Eating Healthy a Family Affair

    By Kelli Swensen, Dietetics Student, Sargent College

    Image Source

    Think getting your kids to not only eat vegetables, but also to like eating vegetables is nothing more than a wistful dream? Think again. Meal Makeover Moms, Janice Bissex, MS, RD, and Liz Weiss, MS, RD, believe that if you make foods look and taste good, then kids will enjoy eating them – even if they contain vegetables.

    Janice and Liz are registered dietitians and mothers, so they understand both the importance of good nutrition and the challenge of feeding a family on a busy schedule. They set out on a mission to provide recipes that are not only healthy, but that are also easy, quick, and non-threatening, in a word: family-friendly. They compiled these recipes in their two books: No Whine with Dinner: 150 Healthy, Kid-Tested Recipes from The Meal Makeover Moms and The Moms’ Guide to Meal Makeovers, Improving the Way Your Family Eats, One Meal at a Time, as well as on their website: mealmakovermoms.com.

    Healthier Hamburger Helper (image source)

    In their books and on their website you will find recipes that pass both the mom and the kid tests, making mealtime a win-win. While there are certainly healthier versions of kid classics, the Meal Makeover Moms also want to promote variety by offering new recipes that your family may never have had before. To see recipes featured on their website click HERE!

    Here's just a taste of some of their recipes:

    In addition to an archive of recipes, the website also features Mealtime Tools that are geared towards making eating healthier realistic. Examples of the articles include a Picky Eater Makeover guide, a Supermarket Shopping List, and a 7-Day Meal Planner.


    Image Source

    In need of more guidance than a recipe? The website also features fun, informative cooking videos that will help you not only prepare recipes, but that also provide general mealtime and pantry tips.

    Image Source

    For even more practical advice, the Meal Makeover moms have a weekly radio podcast, Cooking with Moms, a blog and are on Facebook, Twitter, YouTube, and Pinterest (my favorite is their Berry-licious board). Be sure to check them out and sign up for their monthly e-newsletter!

    If it wasn’t obvious yet how great we at the Sargent Choice Nutrition Center think Janice and Liz are, this semester we are featuring 9 of their recipes at our Sargent Choice Test Kitchens on Wednesday nights! If you want to attend a Test Kitchen specifically featuring their recipes be sure to go to one of the following dates:

    • 2/13 – Fudgy Black Bean Brownies
    • 3/6 – Mini Berry Cheesecakes
    • 3/20 – Confetti Tofu Chili
    • 4/3 – Brilliant Bean and Broccoli Cheese Soup
    • 4/10 – No-Nut Pumpkin Chocolate Chip Muffins
    • 4/17 – Polka Dot Squash Quinoa
    • 5/1 – Veggie Patch Tofu Pie


    Disclaimer: The Sargent Choice blog includes links to other websites only as information to consumers, not as medical advice. When you access an external website, keep in mind that Sargent Choice has no control over its content. Sargent Choice is not responsible for the content found at any of the sites, nor do any links imply endorsement or promotion of the company/organization, its content, services, therapeutic treatment options, or products. Accordingly, you visit any site at your own risk. Sargent Choice is also not responsible for the policies and practices of these sites, such as their Privacy Policy, use of “cookies”, etc. We encourage you to review the privacy policies of each site that you visit through a link on our website

    Tried and True Sargent Choice Favorite Pizza

    By Kelli Swensen, Dietetics Student, Sargent College

    and Megan Smith, Sargent Choice Ambassador

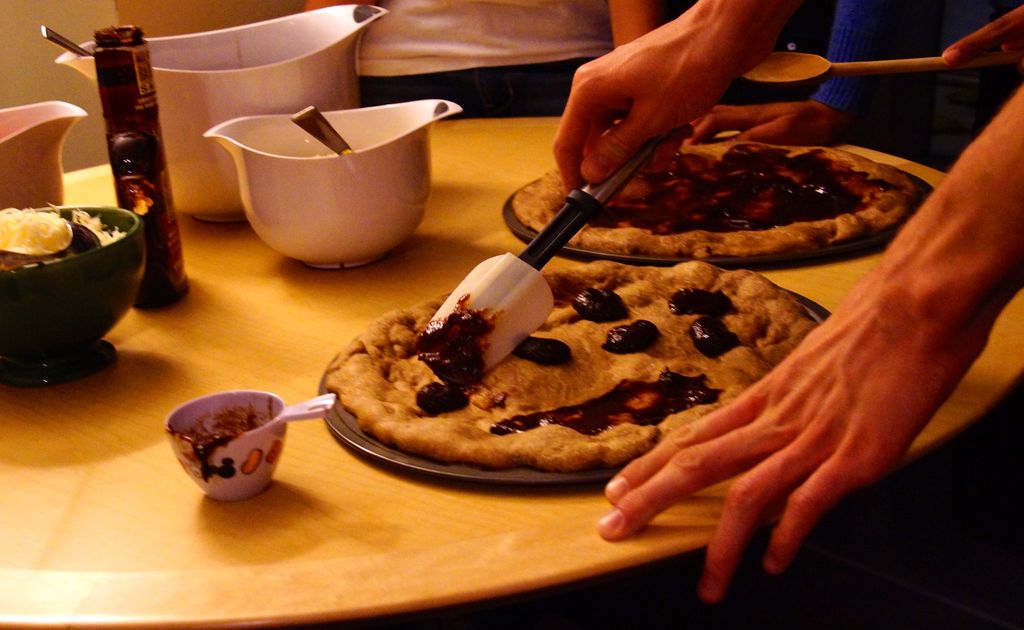
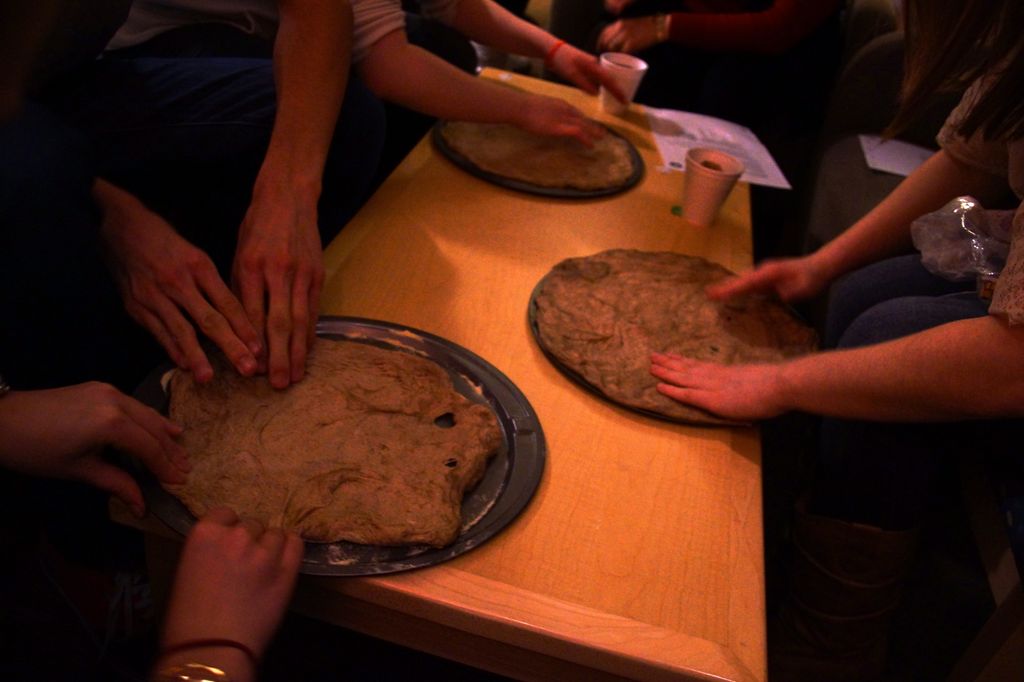
    Love cooking, eating, playing games, and socializing? Then the Sargent Choice Test Kitchen is the place for you! Hosted by Professor Karen Jacobs (EdD, OTR/L, CPA, FAOTA) at her warm and welcoming StuVi 2 Apt 2301. Stop by every Wednesday night between 8-11pm! We look forward to seeing you there!

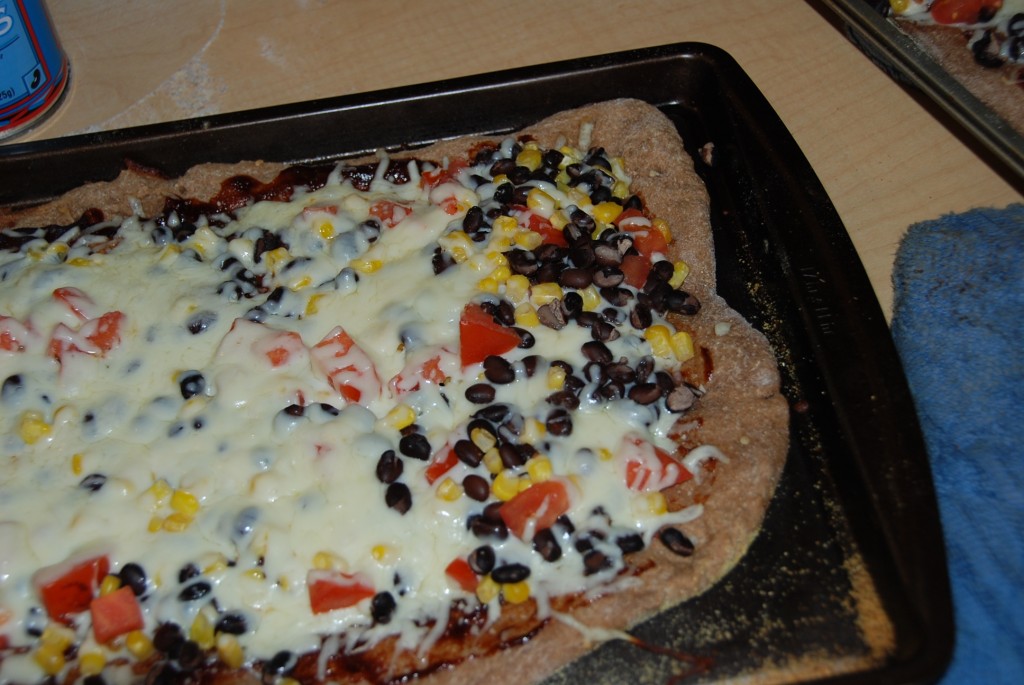
    Can you believe it’s already February?! It feels as though the semester just started. Although it’s only been a month, I know many of us are already struggling to think about what to make for dinner each night. Our recommendation: this all-time favorite Smoky Corn and Black Bean Pizza.

    To kick off the semester, the Sargent Choice Test Kitchen at Karen Jacob’s decided to make this favorite pizza recipe. Just in case you’ve missed previous blogs featuring this dish, the recipe is posted below! Take my word for it when I say it is too good to pass up!

    Sargent Choice Smoky Corn and Black Bean Pizza

    Ingredients
    -       1 large tomato, diced
    -       1 cup canned black beans, rinsed and drained
    -       1 cup frozen corn kernels, defrosted
    -       2 Tablespoons cornmeal
    -       1 prepared whole-wheat pizza dough
    -       1/3 cup barbeque sauce
    -       1 cup shredded part-skim mozzarella cheese

    Directions:

    1)   Preheat oven to 450°F

    2)   Combine tomato, beans and corn in a medium bowl

    3)   Stretch the dough into about a 12in circle on a lightly floured surface. Sprinkle cornmeal on the pizza pan then place the dough on the pan. Bake 8-10 minutes until puffed and lightly crisped on the bottom

    4)   Spread barbeque sauce, tomato mixture and cheese on pizza. Return to oven and bake until the edges of the crust are crispy and the cheese has melted.

    Tips and serving ideas

    -       If whole-wheat pizza dough is not available use a pre-prepared whole-wheat pizza crust

    -       To complete the meal, add a fresh salad with your leftover beans and chopped tomato; toss with your favorite dressing.


    Food has a way of bringing people together…. So grab some friends and join the fun! See you next week!

    Sargent Choice Test Kitchen

    Wednesdays 8pm-11pm

    Karen Jacobs, Faculty-in-Residence

    33 Harry Agganis Way; Apartment 2302

    617 353-7516 (office); 617 838-1872 (mobile); kjacobs@bu.edu

    Spice of the Month: Ginger

    By Kelli Swensen, Dietetics Student, Sargent College

    Image Source

    One of the few spices that is truly universal, ginger can be found in a plethora of dishes. From gingerbread men to ginger-spiced stir-fry to ginger lemonade, ginger can be incorporated in many different ways. In addition to adding flavor, ginger may also pose health benefits including relieving gastrointestinal distress and reducing inflammation.

    Taste: Aromatic, pungent, and spicy

    Tip: Fresh ginger is stronger in taste and contains more anti-inflammatory properties than dried ginger. If you want to buy ginger powder, try to buy organic.

    Shelf Life: Fresh ginger can be stored for three months in the fridge and six months in the freezer. Dried ginger powder can last up to one year.

    Storage: Fresh ginger should be kept in a plastic bag in the fridge or freezer. Dried ginger powder can be kept in an airtight container in a cool, dark, dry place or in the fridge.

    Pairings: Vegetable dishes, meat dishes, stir-fry, salad dressings, baked goods, fruit juices and smoothies

    Some recipes to get you going:


    Slice it Right

    By Kelli Swensen, Dietetics Student, Sargent College

    Image Source

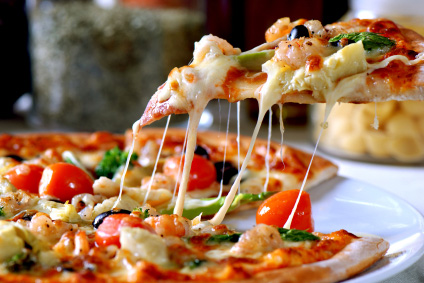
    Nothing says hanging out with friends like pizza. Have a bunch of relatives in town who all have different food likes? Chances are at least one night you’ll order pizza. And if you’re a college kid, well then pizza is usually a staple in your diet thanks to it being both cheap and one of the few late-night options. While pizza usually gets a bad rep, it can actually be a healthy option if you do it right!

    Here are the ingredients you need for a healthier pizza that wont ruin your health goals:

    The base:

    • Sorry Chicago, but that deep-crust pizza is purely refined carbohydrates. Healthy option: thin crust. Even healthier option: whole wheat thin crust.
    • Say no to extra cheese. Some places even let you choose to have less cheese than normal. While less cheese means less calories, if you want traditional pizza go ahead and have the regular amount!
    • Speaking of cheese, if your pizza place has it, opt for a low-fat mozzarella or other reduced-fat cheese. Chances are you wont be able to tell a difference.

    Toppings:

    • Number 1 rule of a healthy pizza: load up on the veggies! Not only will you reap the health benefits from the vegetables themselves, more veggies means less space for cheese (aka. less calories)
    • If pizza just isn’t pizza without some pepperoni or sausage, go ahead and put some meat on, but stick to only one meat. If you really want both, order one pizza with pepperoni and another with sausage, then have one slice of each!

    Ordering Points:

    • Remember: the larger the size of the pizza, the bigger the slices will be. As long as price isn’t an issue, order two small pizzas for you and your friends rather than one large pizza – that way you’ll be able to have more slices, plus try out more topping combinations!

    Side Dish:

    • Cheesy sticks and cinnamon-sugar sticks may sound delicious, but they only add up to extra carbs and sugar, basically empty calories. These are a definite skip.

    Healthy Options:

    • Serve with a side salad
    • If going out for pizza where salad isn’t an option, bring a piece of fruit with you as a side. It’ll help fill you up without needing that one-too-many slice.
    • Remember: soda and beer have calories too, empty calories. Take them into consideration when deciding on whether or not to have that last piece.

    Sargent professor and registered dietitian Joan Salge Blake has a great pizza nutrition tool on her website! You simply build your pizza and then the Pizza Parlor tells you the nutrition information per slice. To give it a go, here’s how our healthier option pizza compares to both a deep-dish  pie and a standard cheese pizza:


    12-inch Deep-Dish Pepperoni and Sausage:
    With: Pan crust + pizza sauce + mozzarella + pepperoni + sausage
    (Per slice)
    Calories: 442
    Fat: 16g
    Sat Fat: 7.5g
    Carbs: 53.7g

    12-inch Standard Cheese:
    With: Regular crust + pizza sauce + mozzarella
    (Per slice)
    Calories: 210
    Fat: 7g
    Sat. Fat: 4g
    Carbs: 27.5

    12-inch Veggie Lovers (Healthier Option)
    With: Thin crust + pizza sauce + mozzarella + mushrooms, green peppers, black olives, tomatoes, broccoli
    (Per slice)
    Calories: 173
    Fat: 7.65g
    Sat. Fat: 4.2g
    Carbs: 18.7


    Want to make sure your pizza provides exactly what you want nutritionally and in taste? Make your own! We have some great pizza recipes below:


    Happy eating!


    5 Tips to Help You Stay Healthy Super Bowl Sunday

    By: Sara Patterson & Stephanie Horton, Dietetic Interns, Sargent Choice Nutrition Center

    game dayimage source

    We love the big game just as much as you do! Follow these 5 tips to help you stay healthy this game day:

    1. Eat! Don’t go to that game day party hungry, or you’re sure to be vulnerable to overeating!  If you find you're just a little hungry before the big game try snacking on some veggies and hummus or fruit and cheese before leaving to tide you over.

    2. Get moving! Not only will this make you feel better, it will also help you have more fun.  Studies show that being physically active can actually improve your mood. So don’t be a party pooper! Get some exercise in before the game, and you’re sure to liven up the party!

    3. Treat yourself! Upon arriving, identify your favorite dish. This is your “must eat” item - the one that meets your eye and will not stop beckoning you until it’s in your mouth. Don’t deprive yourself of this treat! Simply give yourself a reasonable portion, truly enjoy every bite, and allow yourself to be satisfied. Moderation is key!

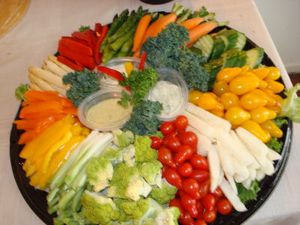
    4.  Prepare something healthy! You can make sure there is something nutritious to chomp on at the party by providing something nutritious.  Cut up some veggies like carrots, celery, cucumbers and add grape tomatoes to dunk in a yummy dip. You could always try our Spinach and Artichoke Dip with veggies and whole wheat pita chips. Or our Boneless Buffalo Chicken Tenders with Blue Cheese Sauce.

    vegetable-platter_400image source

    5.  Stay hydrated! With all your friends around, exciting football plays and fun commercials we sometimes forget to hydrate.   If plain water doesn’t interest you, try adding a slice of lemon, lime or cucumber.  Carbonated flavored water is also another great alternative.

    298x232-water_lemon-298x232_water_lemonimage source

    What team are you rooting for on Sunday?